
TOP 10 MICROPHONES FOR PODCASTING are:
Shure SM7B: A popular choice among podcasters, this dynamic microphone offers great sound quality and excellent noise rejection. It can handle loud noises and has a built-in pop filter.
Rode PodMic: This dynamic microphone is designed specifically for podcasting and has a rich, warm sound that captures the human voice well. It also has a built-in pop filter.
Audio-Technica AT2035: This condenser microphone offers a high-quality sound and a large diaphragm for better frequency response. It also comes with a shock mount and a pop filter.
Electro-Voice RE20: This dynamic microphone is a classic choice for radio and podcasting. It offers a warm sound and excellent noise rejection.
Blue Yeti: This USB microphone is a versatile option for podcasters. It offers multiple polar patterns and a built-in headphone jack for monitoring.
Shure SM58: This dynamic microphone is known for its durability and is a popular choice among live performers. It offers great sound quality and a built-in pop filter.
Heil PR-40: This dynamic microphone is designed specifically for broadcast and podcasting. It offers a smooth, natural sound and excellent noise rejection.
Audio-Technica ATR2100x-USB: This dynamic microphone offers both USB and XLR connections, making it versatile for various recording setups. It also comes with a built-in headphone jack.
AKG Pro Audio C214: This condenser microphone offers a professional-level sound quality and is ideal for podcasters looking to upgrade their equipment.
Samson Q2U: This dynamic microphone offers both USB and XLR connections and is a budget-friendly option for podcasters. It also comes with a built-in headphone jack and a pop filter.
Here are the prices (approximate) for each of the top 10 microphones for podcasting in both US dollars (USD) and Australian dollars (AUD):
Shure SM7B: USD $399 / AUD $545
Rode PodMic: USD $99 / AUD $135
Audio-Technica AT2035: USD $149 / AUD $204
Electro-Voice RE20: USD $449 / AUD $614
Blue Yeti: USD $129 / AUD $176
Shure SM58: USD $99 / AUD $135
Heil PR-40: USD $329 / AUD $449
Audio-Technica ATR2100x-USB: USD $99 / AUD $135
AKG Pro Audio C214: USD $349 / AUD $476
Samson Q2U: USD $69 / AUD $94
Please note that these prices are approximate and may vary depending on the retailer and location.
Ralph Barba
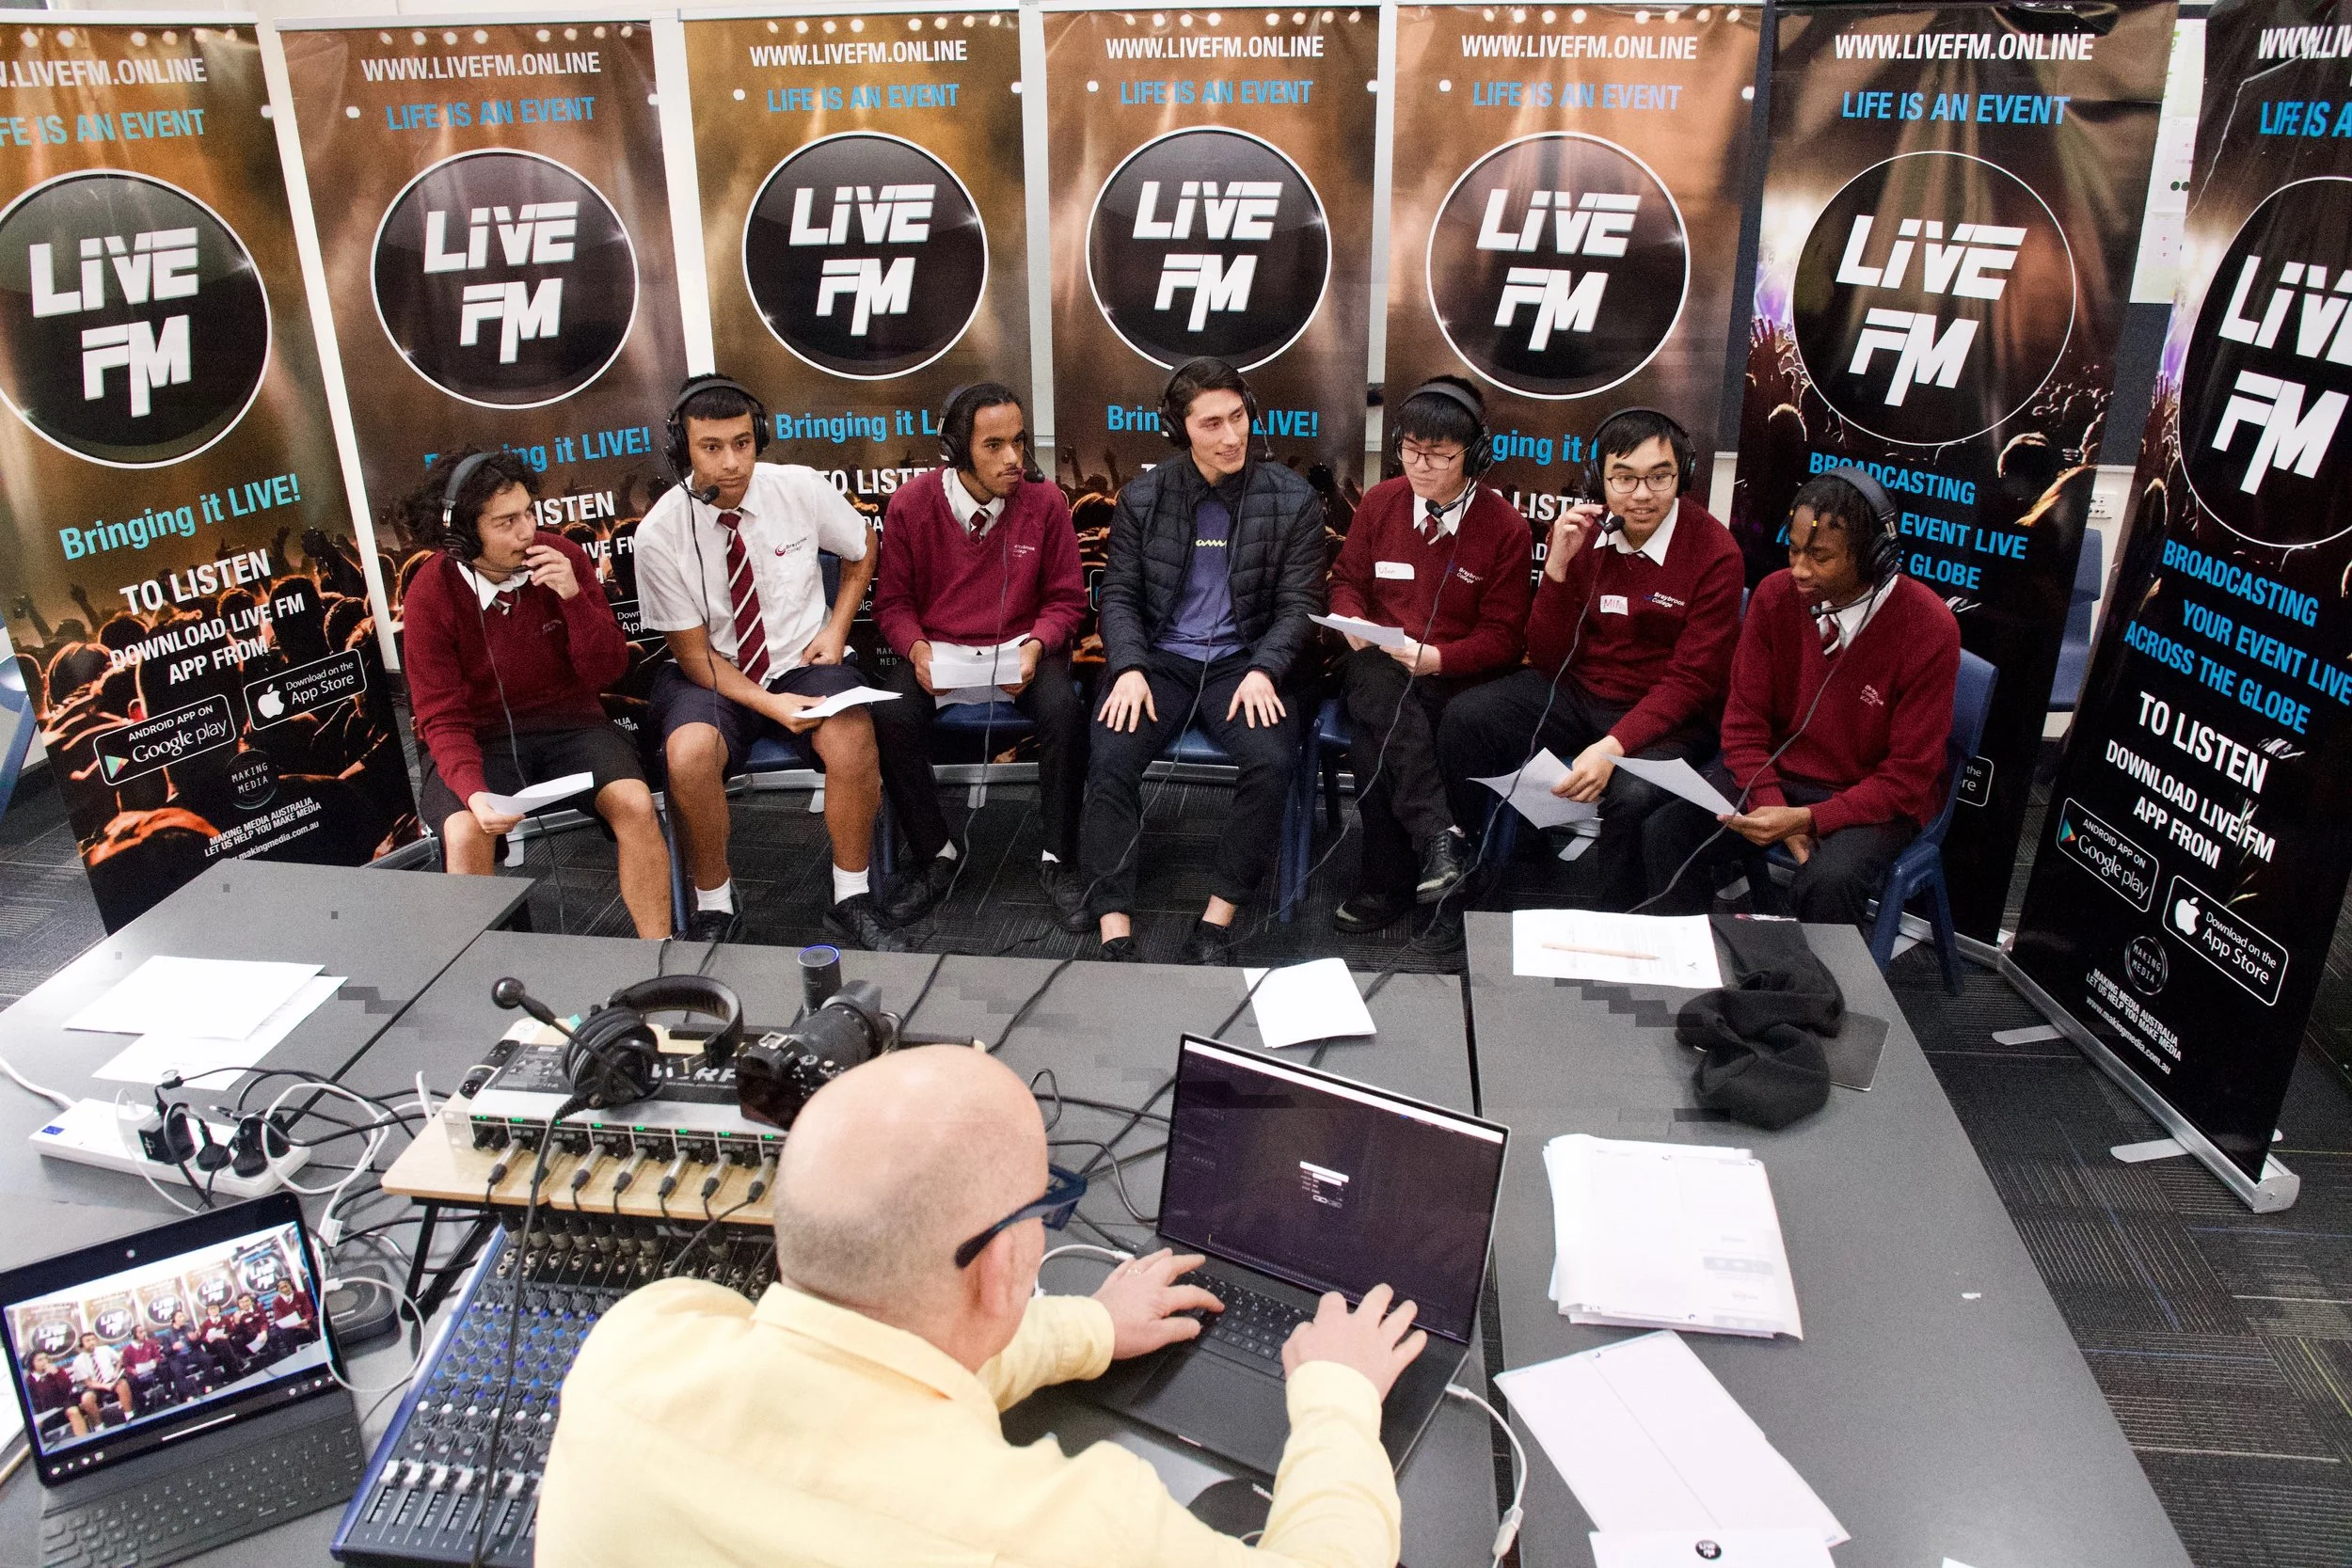
MAKING MEDIA AUSTRALIA & LIVE FM
Email: info@makingmedia.com.au for more information.